Piotnet Switch Content lets you showcase your key information beautifully, and interactively on your website to drag customers’ instant attention, accelerate site traffic, and conversion taking less scroll time. This feature allows you to use saved templates, images, text, or visual content in each section, and style in advance to make a standout website for visitors to boost sales.
Switch Content example
This content of Section 1
The ultimate objective of website owners and designers is to increase the amount of content while maintaining the website's design. That is a difficult feat to accomplish because adding too much content may cause readers to lose focus and give up.
This content of Section 2
To avoid forcing users to open a new tab in order to view more information, content switching presents more contrasting information on the same web page.
Tutorials
Step 1: Add Element
In the Bricks Panel > Find and use Piotnet Switch Content element.
Step 2: Configure Content
Choose the Content Tab and fill out inputs of both Sections
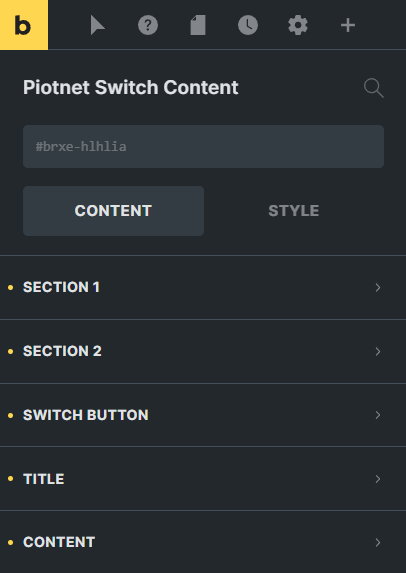
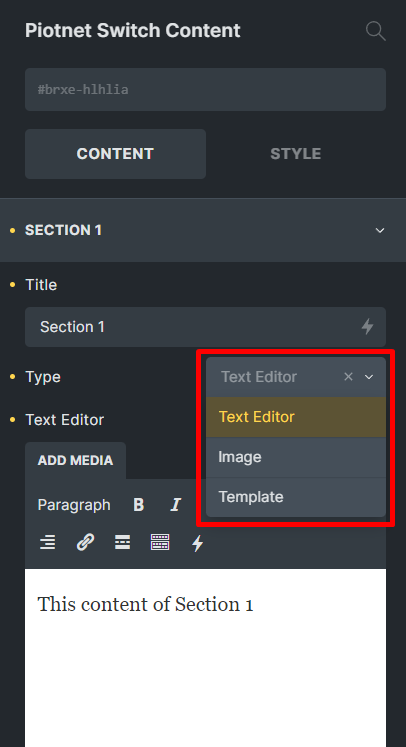
Section 1 and 2:
- Title: Name of Section.
- Type: You can use any of the three available types of content for Text Editor, Image, and Bricks Template.
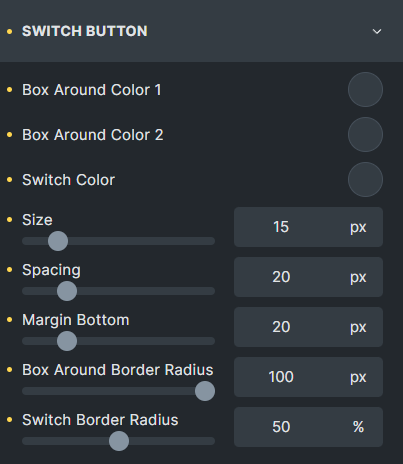
Switch Button:
Customize the Box Around 1 and 2, Switch Color, Size, Spacing, Margin Bottom, and Radius.
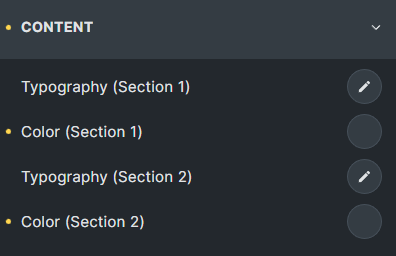
Title and Content
- Typography: Adjust the font settings.
- Color: Select a color for the description

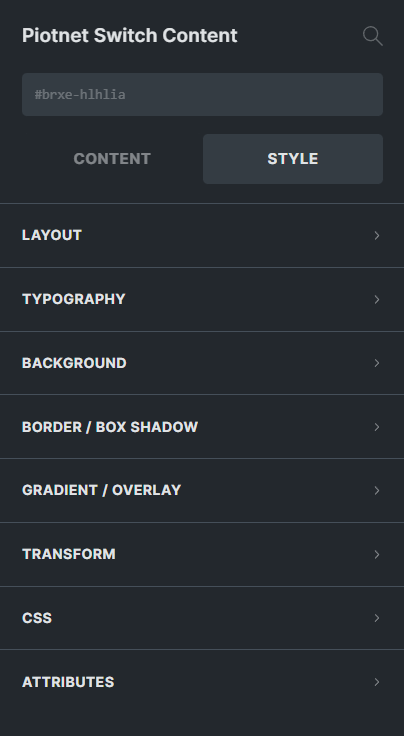
Step 3: Adjust Styles
You also customize the relevant elements of Bricks Style Tab