

Application for Bricks Builder
A unique and easy-to-use framework, Piotnet Bricks Element Creator (Widget Creator) helps you produce custom Bricks elements in minutes with just basic coding knowledge, instead of setting up third platforms or customizing your function file in Themes.
- Easy Element Creation: Create custom elements using our unique element creator framework, giving you the freedom to make anything.
- Flexible application and boost your workflow: Just need to create a one-time and easy import/export between your websites.
- Professional Workflow: Use the graphic interface to add attributes and make professionally customized elements precisely for your website’s needs.
- Enhancing Bricks: Eliminate the need for multiple plugins and build professional elements that elevate your website in minutes.
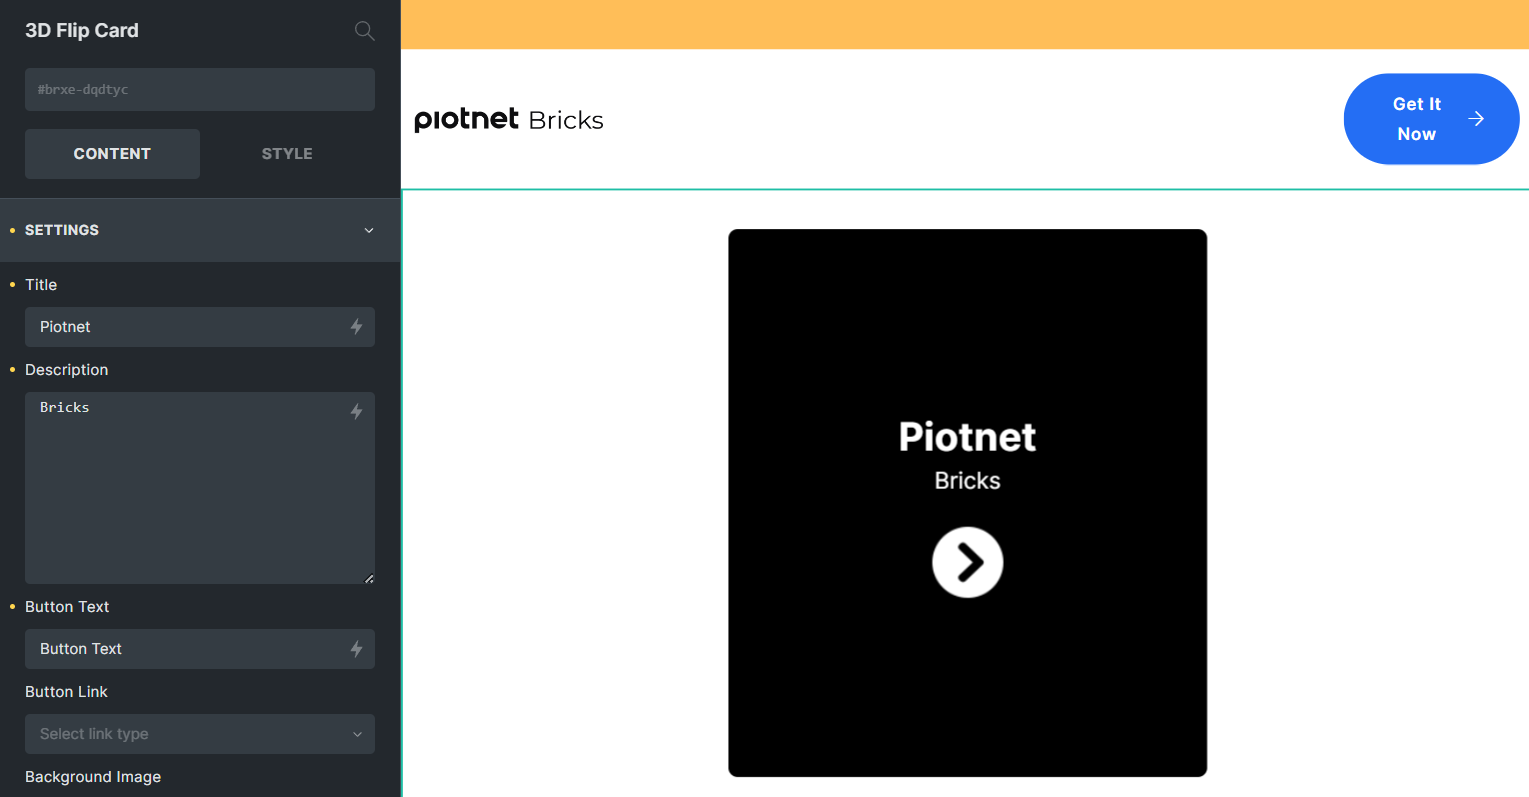
A demonstration for Bricks Element Creator - 3D Flip Card
3D Flip Card
An Element made by Piotnet Bricks Element Creator
Step by Step to configure Element Creator
Step 1: Element Creator Panel
Firstly, make sure that you already updated the Piotnet Bricks version 1.0.6
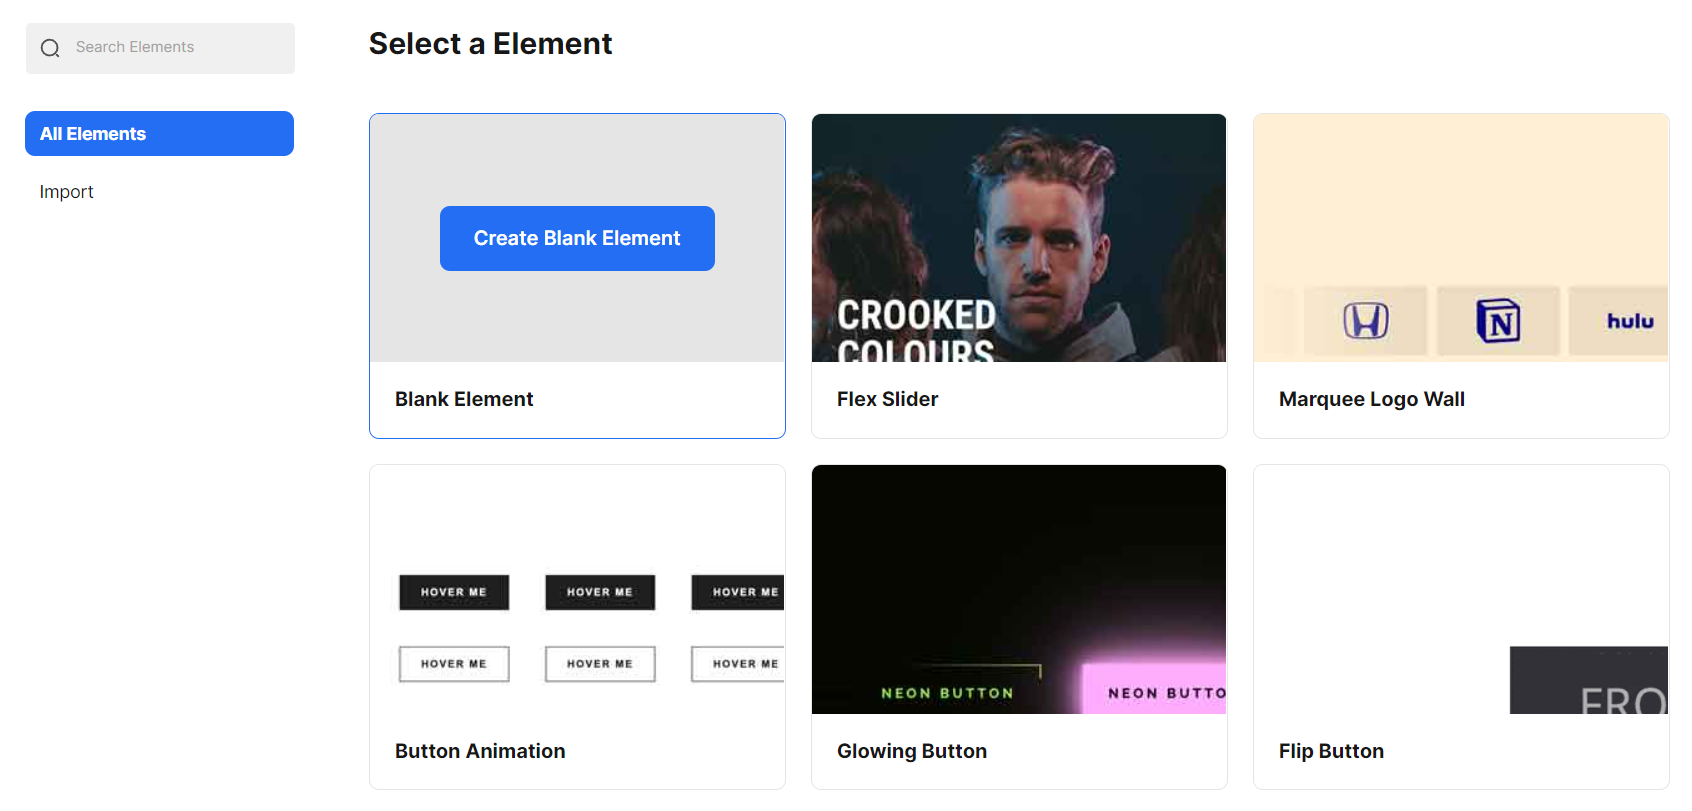
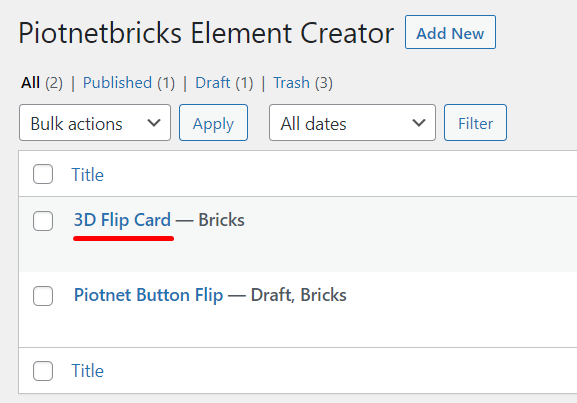
Go to your Dashboard > Piotnet Bricks Panel > All Elements Creator > All Elements Tab.

All your self-created elements and demos will be stored here.
Click on “Create Blank Element” to create your first element.
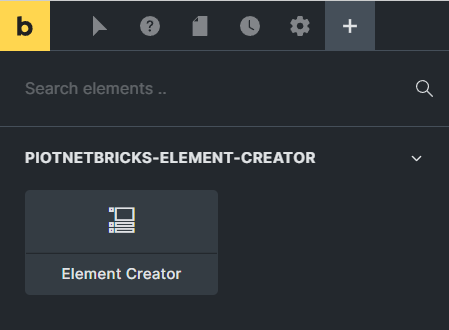
On Bricks Editor Panel, search the Element Creator, then drag & drop to the editor area.
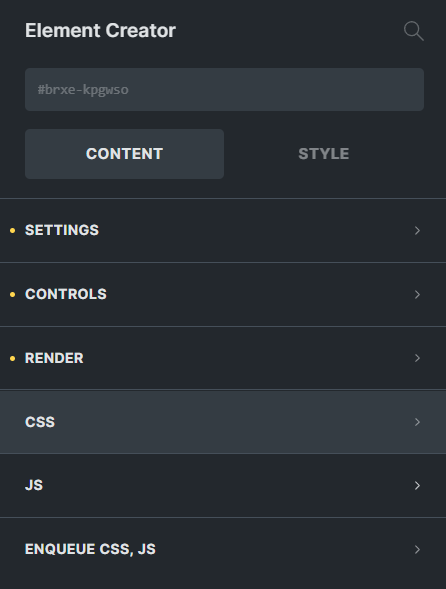
Edit this element > Content Tab.
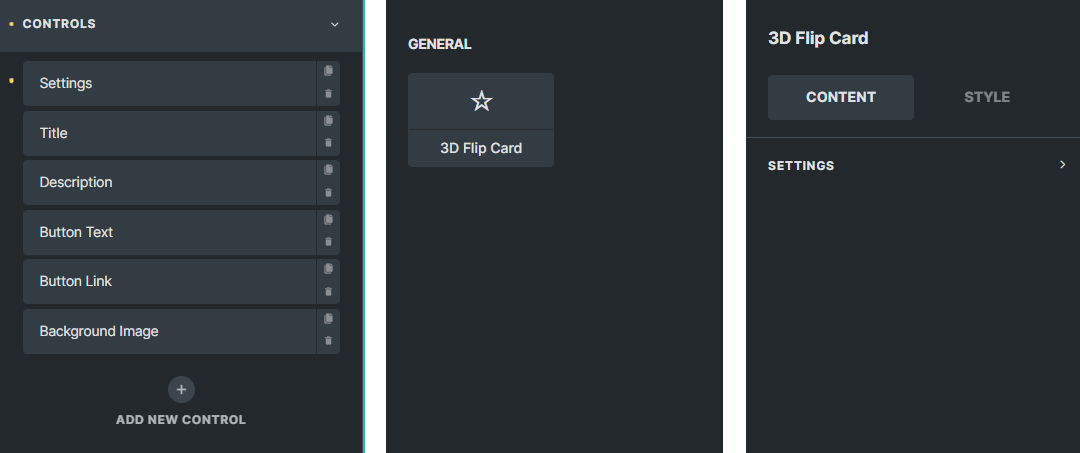
There are 6 remarkable categories to configure: Settings, Controls, Render, CSS, JS, and Enqueue CSS, JS.
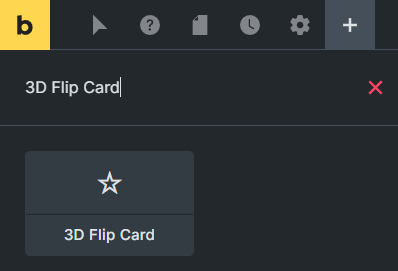
For a visual example, we will demonstrate how to create an element, called 3D Flip Card
Step 2: General Settings
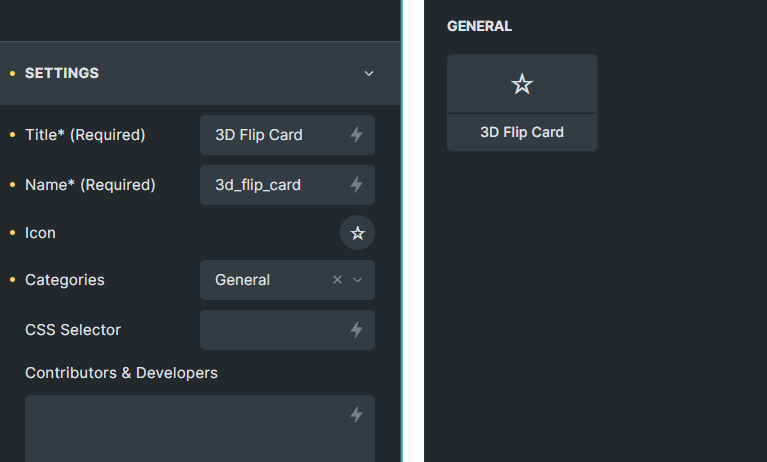
- Title*: Displayed editor name for your element (mandatory field)
- Name*: Similar to a slug name, this name has to be unique, with Latin characters and no space, no number. Separated by dashes, like Slug’s format. E.g. your_element (mandatory field)
- Icon: Thumbnail Icon of your element.
- Categories: Separated by commas
Step 3: Controls
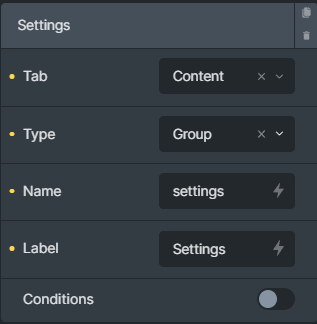
A place to configure your main elements. By default, there are two available demonstration controls,
Click on “Add New Control” to show the third control.
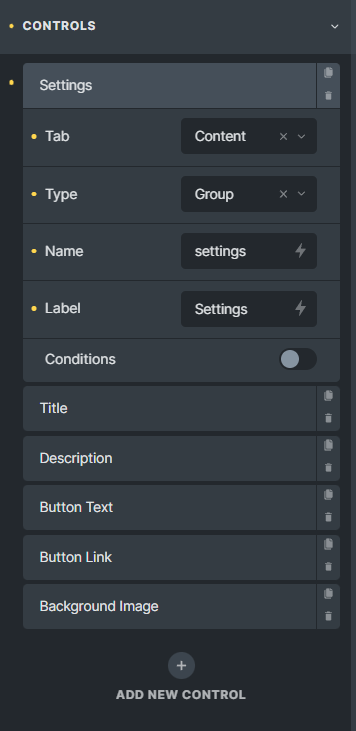
*Controls must start with “Group” Type.
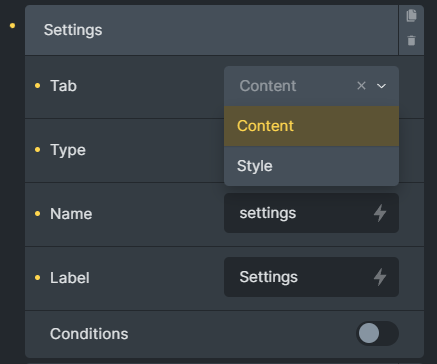
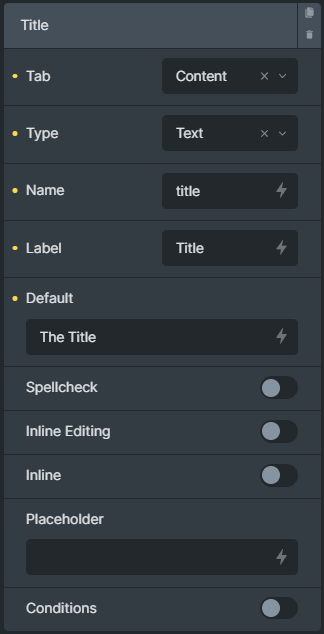
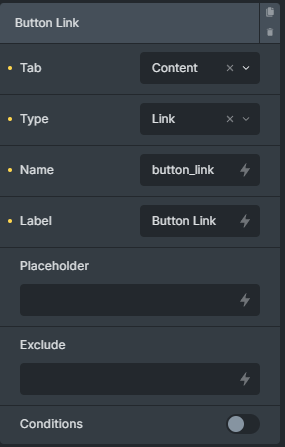
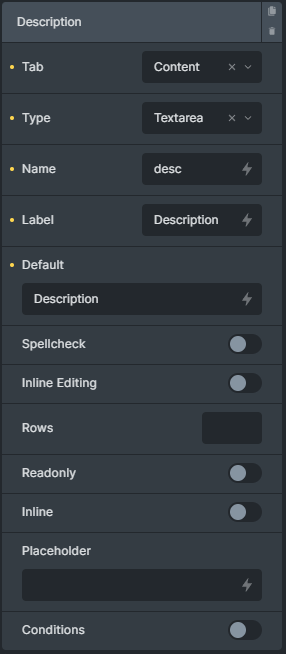
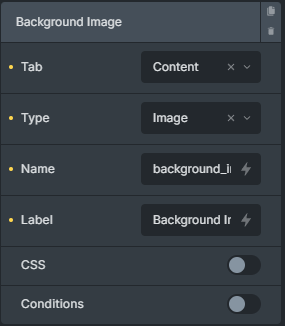
- Tab: To locate a specific Tab, there are two Tab options: Content, and Style.
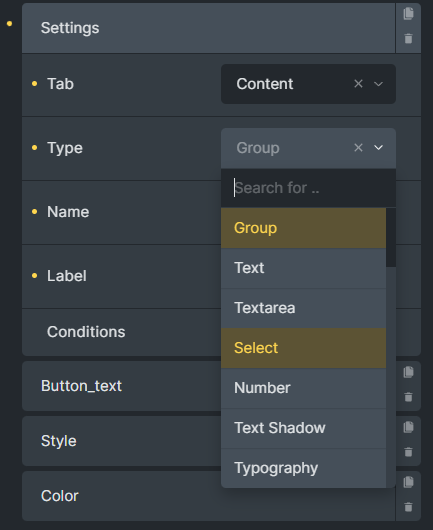
- Type: There are various types such as Group, Text, Text Area, Number, etc.
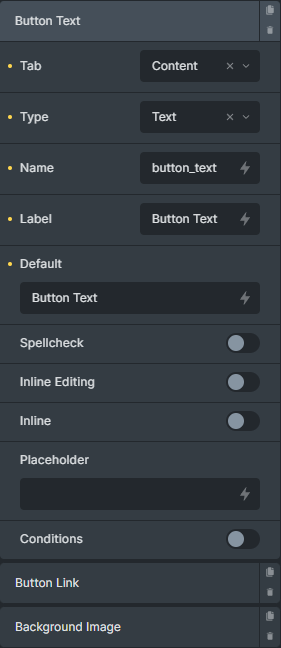
Back to the illustration setup of the button Controls example:
Detailed controls
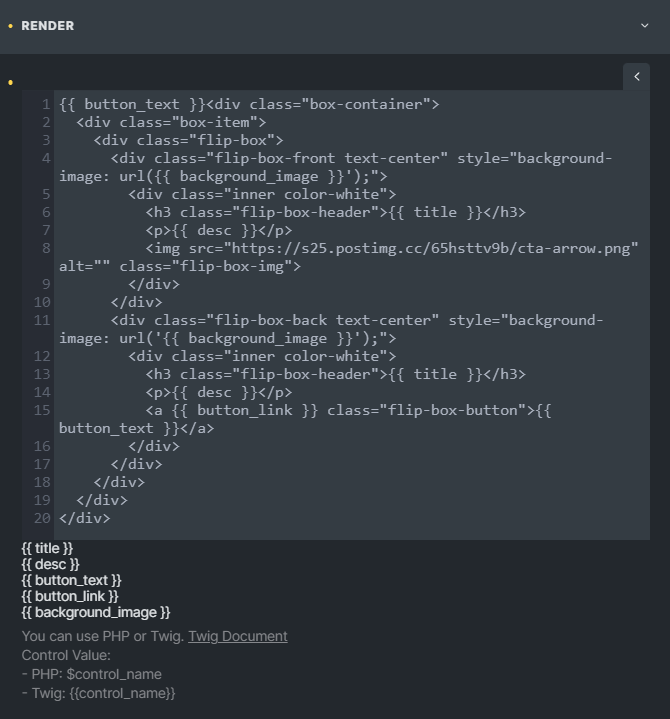
Step 4: Render
One of the most important parts of building your element is Render. You can use PHP or Twig. Twig Document
Control Values:
- PHP: $control_name
- Twig: {{control_name}}
<?php
$background_image_url = !empty($background_image) ? $background_image['full'] : '';
?>
<div class="box-container">
	<div class="box-item">
    <div class="flip-box">
      <div class="flip-box-front text-center" style="background-image: url('<?php echo $background_image_url; ?>');">
        <div class="inner color-white">
          <h3 class="flip-box-header"><?php echo $title; ?></h3>
          <p><?php echo $desc; ?></p>
          <img src="https://s25.postimg.cc/65hsttv9b/cta-arrow.png" alt="" class="flip-box-img">
        </div>
      </div>
      <div class="flip-box-back text-center" style="background-image: url('<?php echo $background_image_url; ?>');">
        <div class="inner color-white">
          <h3 class="flip-box-header"><?php echo $title; ?></h3>
          <p><?php echo $desc; ?></p>
          <?php
          $this->set_link_attributes( 'a', $button_link );
          ?>
          <a <?php echo $this->render_attributes( 'a' ); ?> class="flip-box-button"><?php echo $button_text; ?></a>
        </div>
      </div>
    </div>
	</div>
</div>
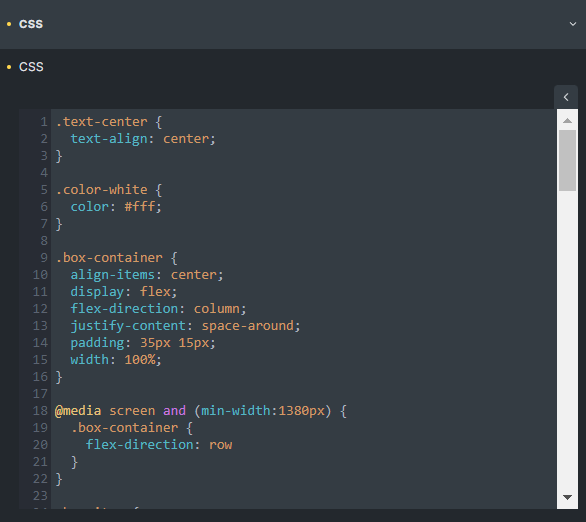
Step 5: CSS
A place to configure the custom CSS
Step 6: JS
You can customize your JavaScript here.
Step 7: Enqueue CSS, JS
- For CSS: Enter the name of the stylesheet separated by a comma. You need to register a CSS stylesheet before using it. E.g: prefix-test-script, prefix-test-element
- For JS: Enter the name of the script separated by a comma. You need to register a script before using it. E.g: prefix-test-script, prefix-test-element

Step 8: Publish, Export or Import your Bricks Element
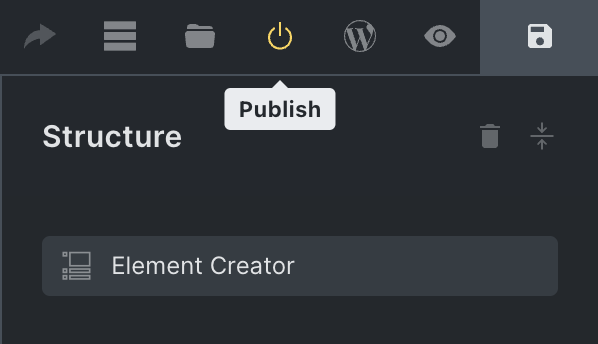
After completing your first element, you can use this one in anywhere Bricks Page Builder environment.
Result in Bricks Editor
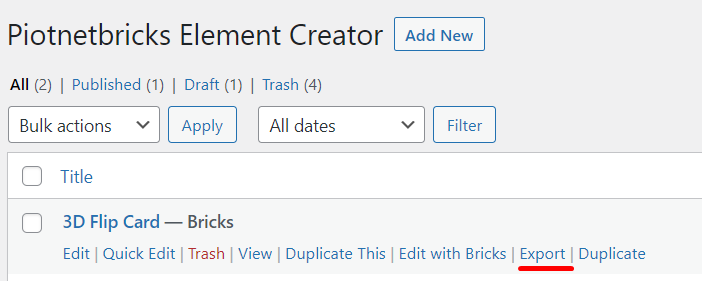
Export or Import to anywhere of Bricks Builder
You can easily export an element to a JSON file:
Dashboard > Piotnet Bricks Panel > All Elements Creator> Choose one and click on “Export”
After that, a JSON file will be downloaded.
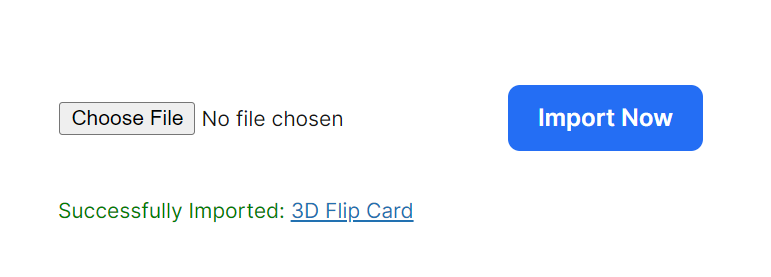
To reuse that element on other Websites:
Dashboard > Piotnet Bricks Panel > Add Elements Creator > Import Element > Choose file (JSON file) > Import Now.
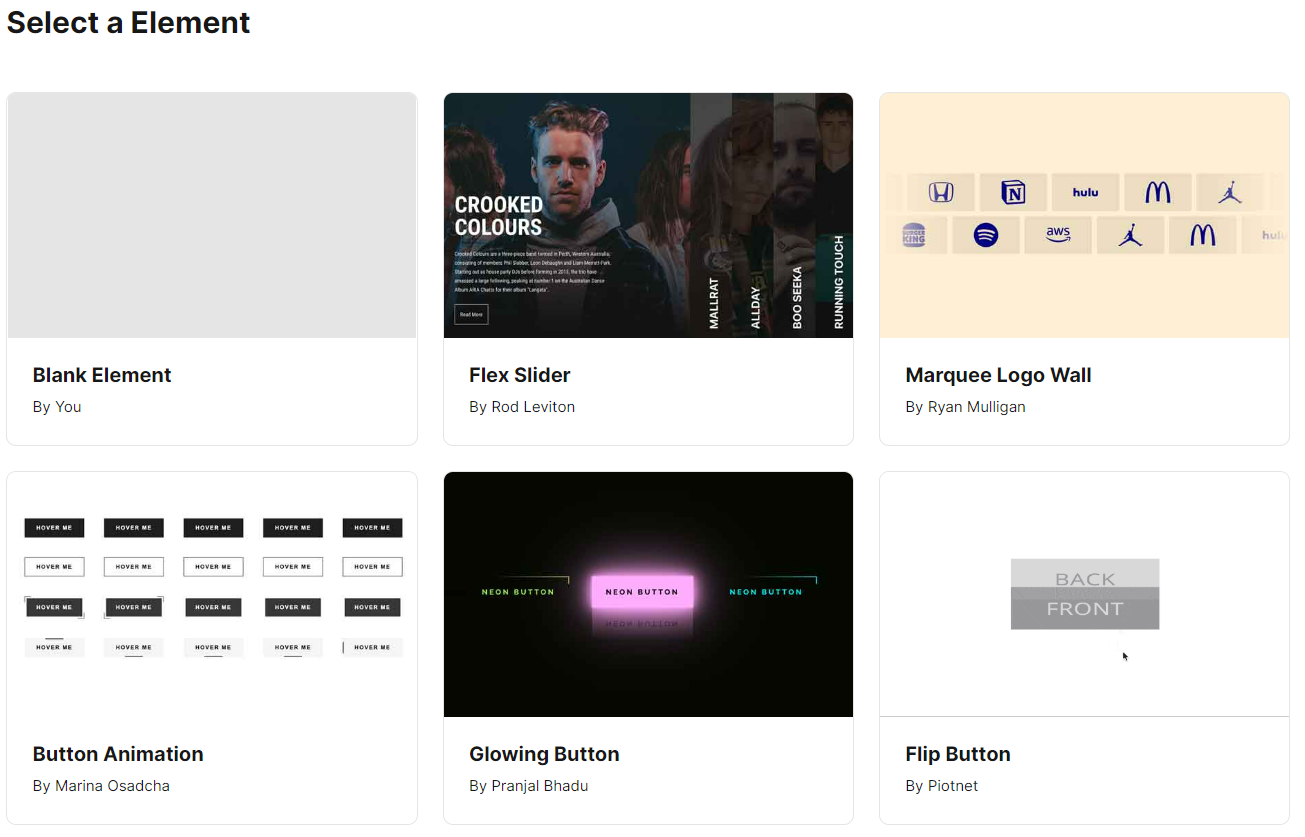
There are a few available Bricks Elements made by Piotnet Community:
The Element Creator requires a PHP version 7.2.5 and above.
Recommendation:
To diversify query or apply filters, you can refer to Piotnet Grid. It possibly fulfills your advanced Grid Layout or combine Facets to filter Bricks Query Loop.